How to Restore Weather-Damaged Timber Framing Around Exterior Doors and Window Openings
Timber framing around exterior doors and windows takes more weather than almost any other wood in a house. Rain runs down the wall and pools on sills, wind drives water into joints, and failed caulking lets moisture sit against end grain for months. By the time paint blisters or a sill feels soft, the rot has usually travelled further into the framing than the visible damage suggests.
Restoring it properly means doing three things in order: finding how far the damage really goes, cutting back to sound timber and rebuilding the structure, and then fixing the weather seal that let the water in. This guide covers all three, and how to tell when the job is beyond DIY and needs a licensed carpenter.
Rot Around Openings Starts Behind the Trim, Not on It
Wood around a door or window rarely rots from the face outward. It rots from the back, where water sits trapped between the trim and the sheathing, or from the end grain, where unsealed wood drinks water like a wick. The painted surface can look sound while the wood behind it has turned soft and fibrous. That is why a visual check alone is never enough, and why probing with an awl or screwdriver is the first real test.
The usual water routes are small and persistent rather than dramatic. A missing drip cap above a window lets rain run down the face and behind the casing. A sill with no slope holds a shallow puddle after every shower. Caulking that has shrunk leaves a hairline gap at the joint, and failed flashing above the opening sends wall water straight onto the header. Each of these delivers a little water, often, which is exactly what rot fungi need.
How Do You Tell Surface Damage From Structural Rot?
Start with a probe. Press an awl or a narrow screwdriver into the wood in several places, working outward from the visible damage. Sound timber resists the point and shows bright, firm fibres when you pick at it. Rotted timber lets the point sink in easily, feels spongy, and crumbles into dull, stringy fragments. If the probe sinks more than a few millimetres, the damage is not cosmetic, and the wood needs to come out.
A moisture meter gives the second half of the diagnosis. Take readings around the opening and compare them with a dry section of the same wall. Readings consistently above 20 percent moisture content mean the wood is wet enough for fungi to stay active, and the source is still feeding it. If the wood is dry but crumbly, the rot is old and the water source may already be fixed, but the weakened timber still needs replacing before anything is re-trimmed.
- Probe with an awl: sound timber resists, rotted timber lets the point sink in.
- Check moisture with a meter and compare against a dry section of the same wall.
- Look for paint that blisters, peels or stains in one spot, which marks trapped water.
- Test whether the door or window sticks or sits out of square, which signals swollen framing.
- Follow the rot outward until the probe finds firm, bright timber on all sides.
Mapping the Damage Before You Cut Anything
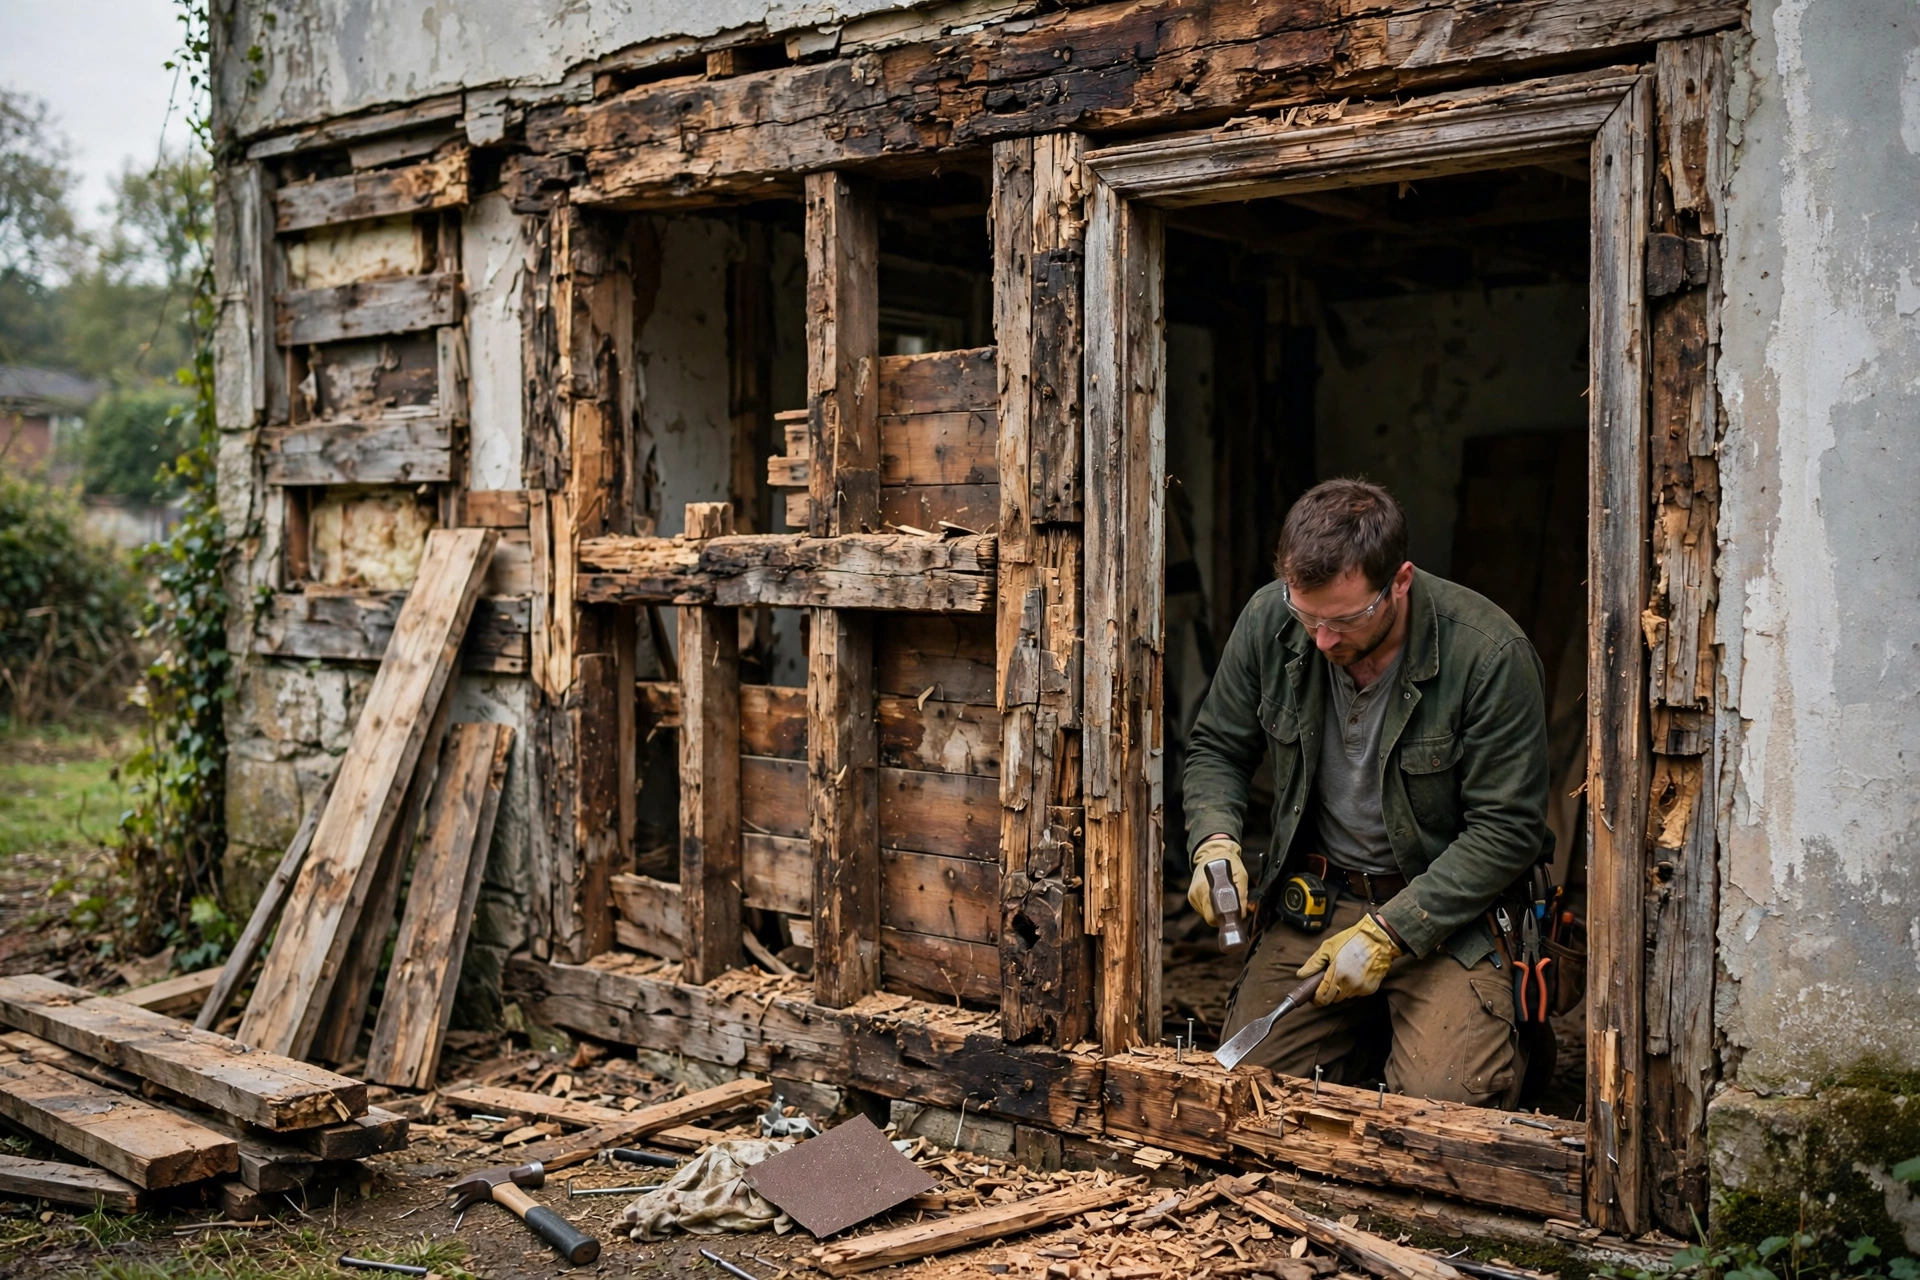
Before any cutting starts, map the full extent of the damage. Remove the exterior trim, casing and sill nosing around the opening, then probe the framing behind it: the sill, the jack studs, the king studs, the header above and the cripple studs below. Work in a grid, probing every 150 mm or so, and mark the boundary between sound and rotted wood with a pencil line. The repair area is always larger than the stain on the wall suggested.
- Strip trim, casing and sill nosing first, so the framing behind is fully visible.
- Probe the sill, jack studs, king studs, header and cripples in a grid pattern.
- Mark the sound-wood boundary with a pencil line before cutting anything.
- Check the sheathing and building paper behind the framing for hidden damage.
- Photograph the opening at each stage, so the rebuild matches the original layout.
While the opening is exposed, check the sheathing and the water-resistive barrier behind the framing. If water reached the studs, it may also have reached the sheathing, and a soft patch there will keep feeding moisture into the new timber. Soft sheathing should be cut out and replaced at the same time.
Cutting Back to Sound Timber and Sistering New Framing
Cut at least 150 mm past the last soft wood into firm, bright timber, and make the cuts square so the new piece seats tightly. For a rotted sill, remove the full length of the damaged section and replace it with a new sill of the same species and size, bedded on a sill seal and sloped slightly outward so water runs off. For a damaged stud, sister a full-length treated stud alongside the remaining sound section, nailed and glued, so the load path is restored.
- Shore the opening with temporary supports before cutting any load-bearing member.
- Cut back to sound timber, at least 150 mm past the last soft wood, with square cuts.
- Replace sills with the same species and size, bedded on sill seal and sloped outward.
- Sister damaged studs with full-length treated timber, nailed and glued alongside.
- Rebuild headers with treated lumber where rot has reached the beam above the opening.
- Seal every cut end and joint with preservative before the new trim goes on.
Temporary shoring is not optional when the header or a king stud is involved. Even a single-storey opening carries roof and floor loads, and cutting a load-bearing member without support can drop the wall above. Use adjustable props or a braced timber post on either side of the opening, and keep the shoring in place until the new framing is fully nailed and the load path is restored.
When the Damage Reaches the Header or the King Stud
Damage that reaches the header beam or a king stud changes the job from a carpentry repair into structural work. The header carries the load over the opening, and a rotted header cannot be patched with filler or a sistered strip. It must be removed and replaced with a new beam of the correct size, and that work requires temporary shoring, a check that the replacement matches the original load capacity, and in most areas a building permit and an inspection.
This is also the point where most homeowners should bring in a licensed contractor. A structural carpenter will size the new header, confirm the bearing at each end, and coordinate the inspection, and the work will be documented for any future sale. If the probe shows soft wood in the header, stop, shore the opening, and get a professional assessment before cutting further.
Choosing Replacement Timber That Will Not Rot Again
Replacement timber should be at least as durable as the original, and usually more so. Pressure-treated lumber is the standard choice for sills and any framing that sits close to masonry or ground moisture, because the preservative protects the wood even if it gets wet again. Cedar and other naturally durable species suit exposed trim and sills, while PVC trim boards are an option for non-structural casing that will never rot, though they cannot replace structural framing.
| Material | Use it for | Rot resistance |
|---|---|---|
| Pressure-treated lumber | Sills, studs, headers | High, preservative treated |
| Cedar | Sills and exterior trim | Good, naturally durable |
| PVC trim board | Non-structural casing | Will not rot |
| Two-part epoxy filler | Small cosmetic repairs only | Fills, does not restore strength |
| Original species, untreated | Interior trim only | Low, keep it dry |
Epoxy filler deserves a clear warning. Two-part epoxy is excellent for small, cosmetic repairs in wood that is otherwise sound, and it can consolidate the edges around a repair. It is not a structural repair. Filling a rotted sill or a soft stud with epoxy leaves a weak member that looks solid, and it will fail under load or keep rotting underneath.
Rebuilding the Weather Seal: Flashing, Sills and Drip Caps
New timber will rot just like the old if the weather seal is not rebuilt, so the flashing detail matters as much as the carpentry. The sill should slope outward at a visible angle, the head flashing above the opening should lap over the trim below it, and the side flashing should direct water out, not into the wall. Every joint gets a flexible, paintable exterior sealant, and the sealant is the last line of defence, not the first.
Sill Slope and Drip Edges That Shed Water
A sill that sits level holds water, and held water finds joints. Slope the sill outward so rain runs off, and add a drip edge or a groove underneath the nosing so water drips clear of the wall instead of running back along the underside. Seal the end grain of the sill thoroughly, because end grain absorbs water far faster than the face, and prime all surfaces, including the back face, before the sill is installed.
Head Flashing and Side Joints That Stay Tight
The head flashing above a door or window is a small metal angle that throws water clear of the opening, and it must lap over the trim beneath it with its top edge sealed to the wall. Side joints get backer rod and sealant rather than a solid bead of caulk, so the joint can move without splitting. Check the flashing after the first heavy rain: water should run off the face of the trim, not disappear behind it.
Framing Restoration Mistakes That Let Water Straight Back In
The most common mistake is rebuilding the timber without fixing the water source. A new sill under a missing drip cap, or a new stud behind failed flashing, is simply the next piece of wood to rot. The second mistake is painting over damage, or wrapping rotted trim in aluminium, which hides the rot while it spreads. The third is using interior-grade lumber or untreated timber in an exposed position, which guarantees a repeat repair within a few years.
- Rebuilding timber without fixing the flashing or drip cap that caused the rot.
- Painting over soft wood or wrapping it in aluminium instead of replacing it.
- Using untreated or interior-grade lumber in an exposed, wet position.
- Filling structural rot with epoxy instead of cutting it out and replacing it.
- Skipping the preservative on cut ends, where new timber absorbs water fastest.
- Caulking the bottom edge of trim tight, so trapped water cannot drain out.
Weather-Damaged Timber Framing FAQs
How do I know if the rot around my window is structural?
Probe the framing with an awl. If the sill, studs or header let the point sink in easily, the damage is structural and the timber must be replaced. Cosmetic damage is limited to the trim, while the framing behind it stays firm and bright.
Can I repair rotted window framing with wood filler?
Only for small cosmetic damage in otherwise sound wood. Two-part epoxy filler works for dents and surface repairs, but it cannot restore strength to a rotted sill or stud. Structural rot must be cut out and replaced with sound timber, or the repair will fail under load.
What causes timber framing to rot around doors and windows?
Persistent moisture from failed flashing, missing drip caps, level sills that hold water, or shrunken caulking. Water sits against end grain or behind trim, and rot fungi colonise the wood. The damage usually starts at the back of the trim, so it is often worse than it looks.
Should I use pressure-treated lumber for the repair?
Yes, for sills, studs and headers that sit in exposed or damp positions. Pressure-treated lumber resists rot even if it gets wet again, which is the whole point of the repair. Use the correct treatment rating for the exposure, and seal all cut ends with preservative.
Do I need a permit to replace rotted framing?
A simple trim or sill replacement usually does not need a permit, but replacing a header, a king stud or any load-bearing member often does, and an inspection is usually required. Check with your local building department before cutting structural members, and keep the work documented.
How do I stop the rot coming back after the repair?
Fix the water source first: head flashing, drip caps, sloped sills and sound caulking. Then keep the paint and sealant maintained, check the openings every year, and clear any vegetation or soil that holds moisture against the wall. A repair without a weather seal is only a pause.
Final Thoughts: Dry Framing Around Openings That Lasts
Restoring weather-damaged timber framing is a job that rewards patience. Probe until you find sound wood, cut back past the damage, rebuild with treated timber, and then rebuild the weather seal that failed in the first place. Do all four steps and the opening will stay dry for decades. Skip the last step and you will be cutting the same timber out again in a few years.